UK DIY News
Easy To Install: Simply Peel, Stick And Seal

Splashbacks are used in kitchens, utility rooms and boot rooms to protect walls and other surfaces from splashes, stains and steam. Generally positioned behind the hobs, ovens, ranges, and sinks splashbacks have gained and are continuing to gain popularity across the UK, appearing in newly built modern homes, renovated properties, as well as refurbished kitchens. Splashbacks look at home in traditional, classic and contemporary kitchens and work well with a variety of kitchen styles.
The beauty of splashbacks from splashback.co.uk is that they are easy to fit and can transform the area behind the hob, range, or sink in no time at all thanks to the use of innovative Peel, Stick & Seal technology.
No kitchen installer is required. You don’t need to be a DIY professional to install one, nor do you need to give up half your weekend. All you need is 4 items – tape measure, clean cloth, sealant gun, clear silicone sealant …. and of course, the splashback itself!
Firstly, check that your chosen splashback fits the space. Splashbacks from splashback.co.uk come in two sizes; 600mm x 750mm and 900mm x 750mm. Next check that the surface the splashback is to be applied on is flat, non-porous, dry and dust free. Finally, make sure that the splashback is at least 110mm away from the nearest heat source.
Now you’re ready to apply.
- Peel off the backing. Make sure that all the corners are safe from hard surfaces
- Stick on the wall. Place the bottom of the splashback to the rear of the hob then push it to the wall and apply firm even pressure with the cloth and hold in position for a few seconds
- Seal the edges. Using the clear silicone sealant carefully seal around all the edges ensuring the sealant is no more than 2.5mm thick.
Easy!
Peel, Stick & Seal for a quick and easy transformation

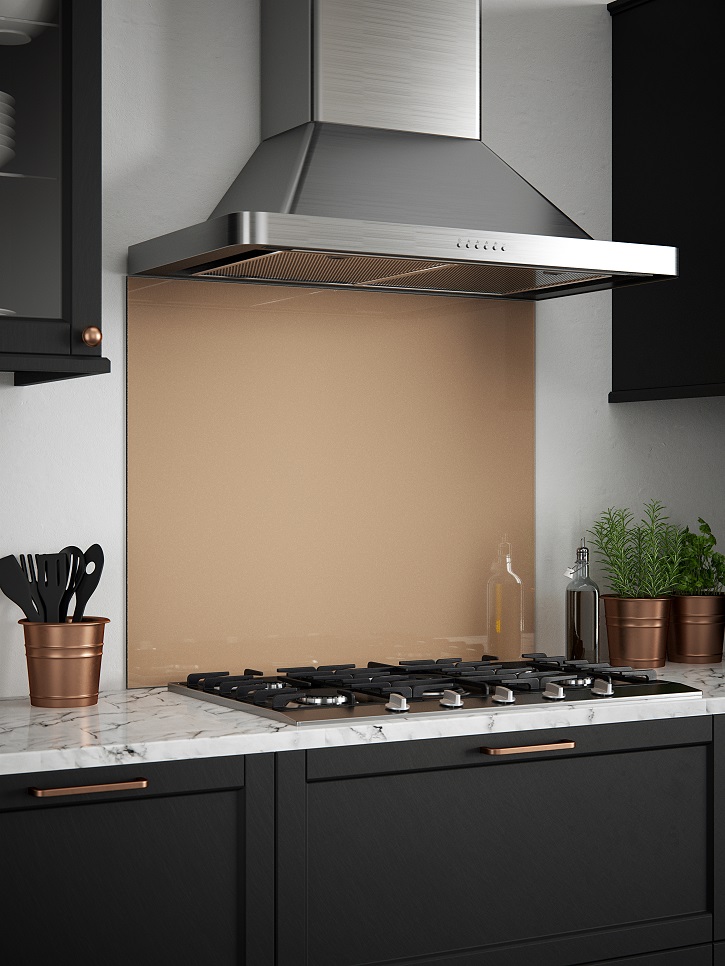
Image : Rose Gold splashback
Source : Splashback.co.uk
Insight DIY always publishes the latest news stories before anyone else and we find it to be an invaluable source of customer and market information.


