UK DIY News
How To Fit A Clear Pre-Drilled Splashback
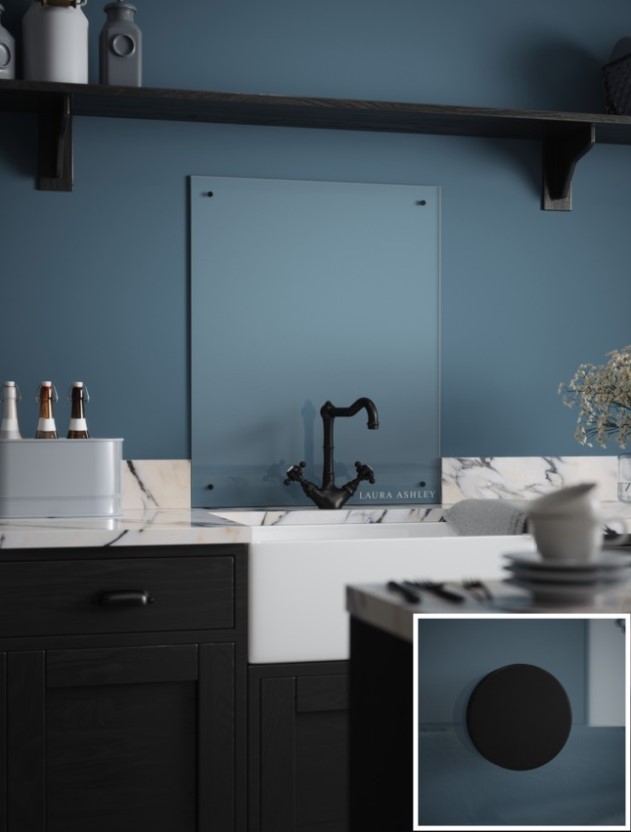
Choose a clear pre-drilled glass splashback. It really isn’t as difficult as you might think to install and will transform your kitchen instantly.
Our glass splashbacks have been especially designed for homeowners and DIYers – no need to call in a tradesman. A little time and patience before you begin together and make sure you have the correct tools to hand. All our clear glass splashbacks arrive with per-drilled holes, a fixing kit, set of decorative caps and clear, easy-to-follow installation instructions. Simply stand back and admire your kitchen transformation!
If you need a little more information, carry on reading the helpful tips below:
Before you start, check that your splashback fits the space and make sure it sits is at least 110mm away from the nearest heat source. Check the surface is perfectly flat, non-porous, dry and dust free.
In addition to the splashback itself, all you need is a tape measure, drill, clear silicone sealant, sealant gun and a clean cloth.
FIRST: Decide where you want to position your splashback, then carefully and accurately mark where the drill holes need to be. Select the correct sized drill bit and determine depth of hole required. Once drilling complete, insert wall plugs firmly into holes
NEXT: Place the bottom edge of the splashback to the rear of the sink or vanity unit lining up the pre-drilled holes with those on the wall. Insert the screws, fix to the wall and cover screw heads with decorative caps (supplied)
FINALLY: Use the Clear Silicone Sealant to seal around all four sides of the splashback. Take care to ensure that the sealant is no more than 2.5mm in thickness.
Note: Our splashbacks are made from high quality toughened glass and so cannot be cut.
From a health and safety perspective, we recommend that glass splashbacks are handled with care and that eye protection and suitable gloves should be worn. Although our splashbacks are made of 6mm toughened safety glass, nevertheless they are fragile and special care should be taken with the corners of the product as impact will cause the glass to shatter.

Source : Splashback.co.uk
Images : Laura Ashley Clear Splashback (main image with Laura Ashley Elderwood wallpaper behind splashback)
I find the news and articles they publish really useful and enjoy reading their views and commentary on the industry. It's the only source of quality, reliable information on our major customers and it's used regularly by myself and my team.


